DSLR/Mirrorless Camera
At its basic level, a photo from a DSLR or mirrorless camera begins with light entering the lens. In the diagram below, it passes through the front line gathering elements (15), the zoom elements (14), the aperture (13) (which determines depth of field and is one part of how much light is allowed into the camera), the focusing elements (12), and the condenser lens (4). These are all part of the lens on a DSLR or mirrorless camera.

Once the light enters the camera, DSLR and mirrorless cameras differ as to how the light (and therefore the image) arrives at the viewfinder (1) or display screen (8). On a DSLR, the light hits the reflex/relay mirror (11). (Like the name suggestions, mirrorless cameras don’t have this mirror, so the light goes directly to the sensor (I’ll explain further in a moment).) In a DSLR, the mirror (11) reflects the light up through a focusing screen (3), up into the pentaprism, and the pentaprism reflects the light into the viewfinder (1) – to your eye as you look through the viewfinder to set up the photo. If your camera has a live-view display screen (8) (most DSLRs do, as long as you haven’t turned it off), the mirror is held in the flipped-up position and the image is displayed using methods similar to a mirrorless camera.
In a mirrorless camera, there is no mirror to reflect the image to the viewfinder (1). The light comes through the lens and to the shutter (7), color and infrared filter (5), and to the digital sensor (6). The image is digitally sent directly to the live-view display screen (8) on the camera. If you’re using a viewfinder (1), the image displayed there is a digitally reproduced image of exactly what is on the screen.
Both DSLRs and mirrorless cameras take a photo in a similar way: When you push down the shutter button, the mirror in a DSLR flips up (the classic “click” sound). Then, on both types of cameras, the shutter (7) opens, allowing light to hit the infrared filter (5) and the digital sensor (6). The shutter stays open for however long you or the camera has set it to – usually a fraction of a second – and then the shutter closes and the mirror in a DSLR flips back down, ready to take another photo. Meanwhile, the image has been transferred to the electronics (9) and then to your recording device (probably and SD card or similar).
See the diagram – it makes a lot more sense if you can see how it works!

Bridge and Point-and-Shoot Cameras
A bridge camera or a point-and-shoot camera works very similarly to a mirrorless camera. The light enters through the lens elements and aperture into the camera, hits the shutter/sensor, and is displayed on the screen or digital viewfinder. When you push the shutter button, the shutter opens for the desired amount of time, allowing the light to hit the sensor, and then closes, sending your photo to the SD card or internal memory. While the process is similar, everything is smaller than on a DSLR or a mirrorless camera. Sensors are frequently less than 1”.

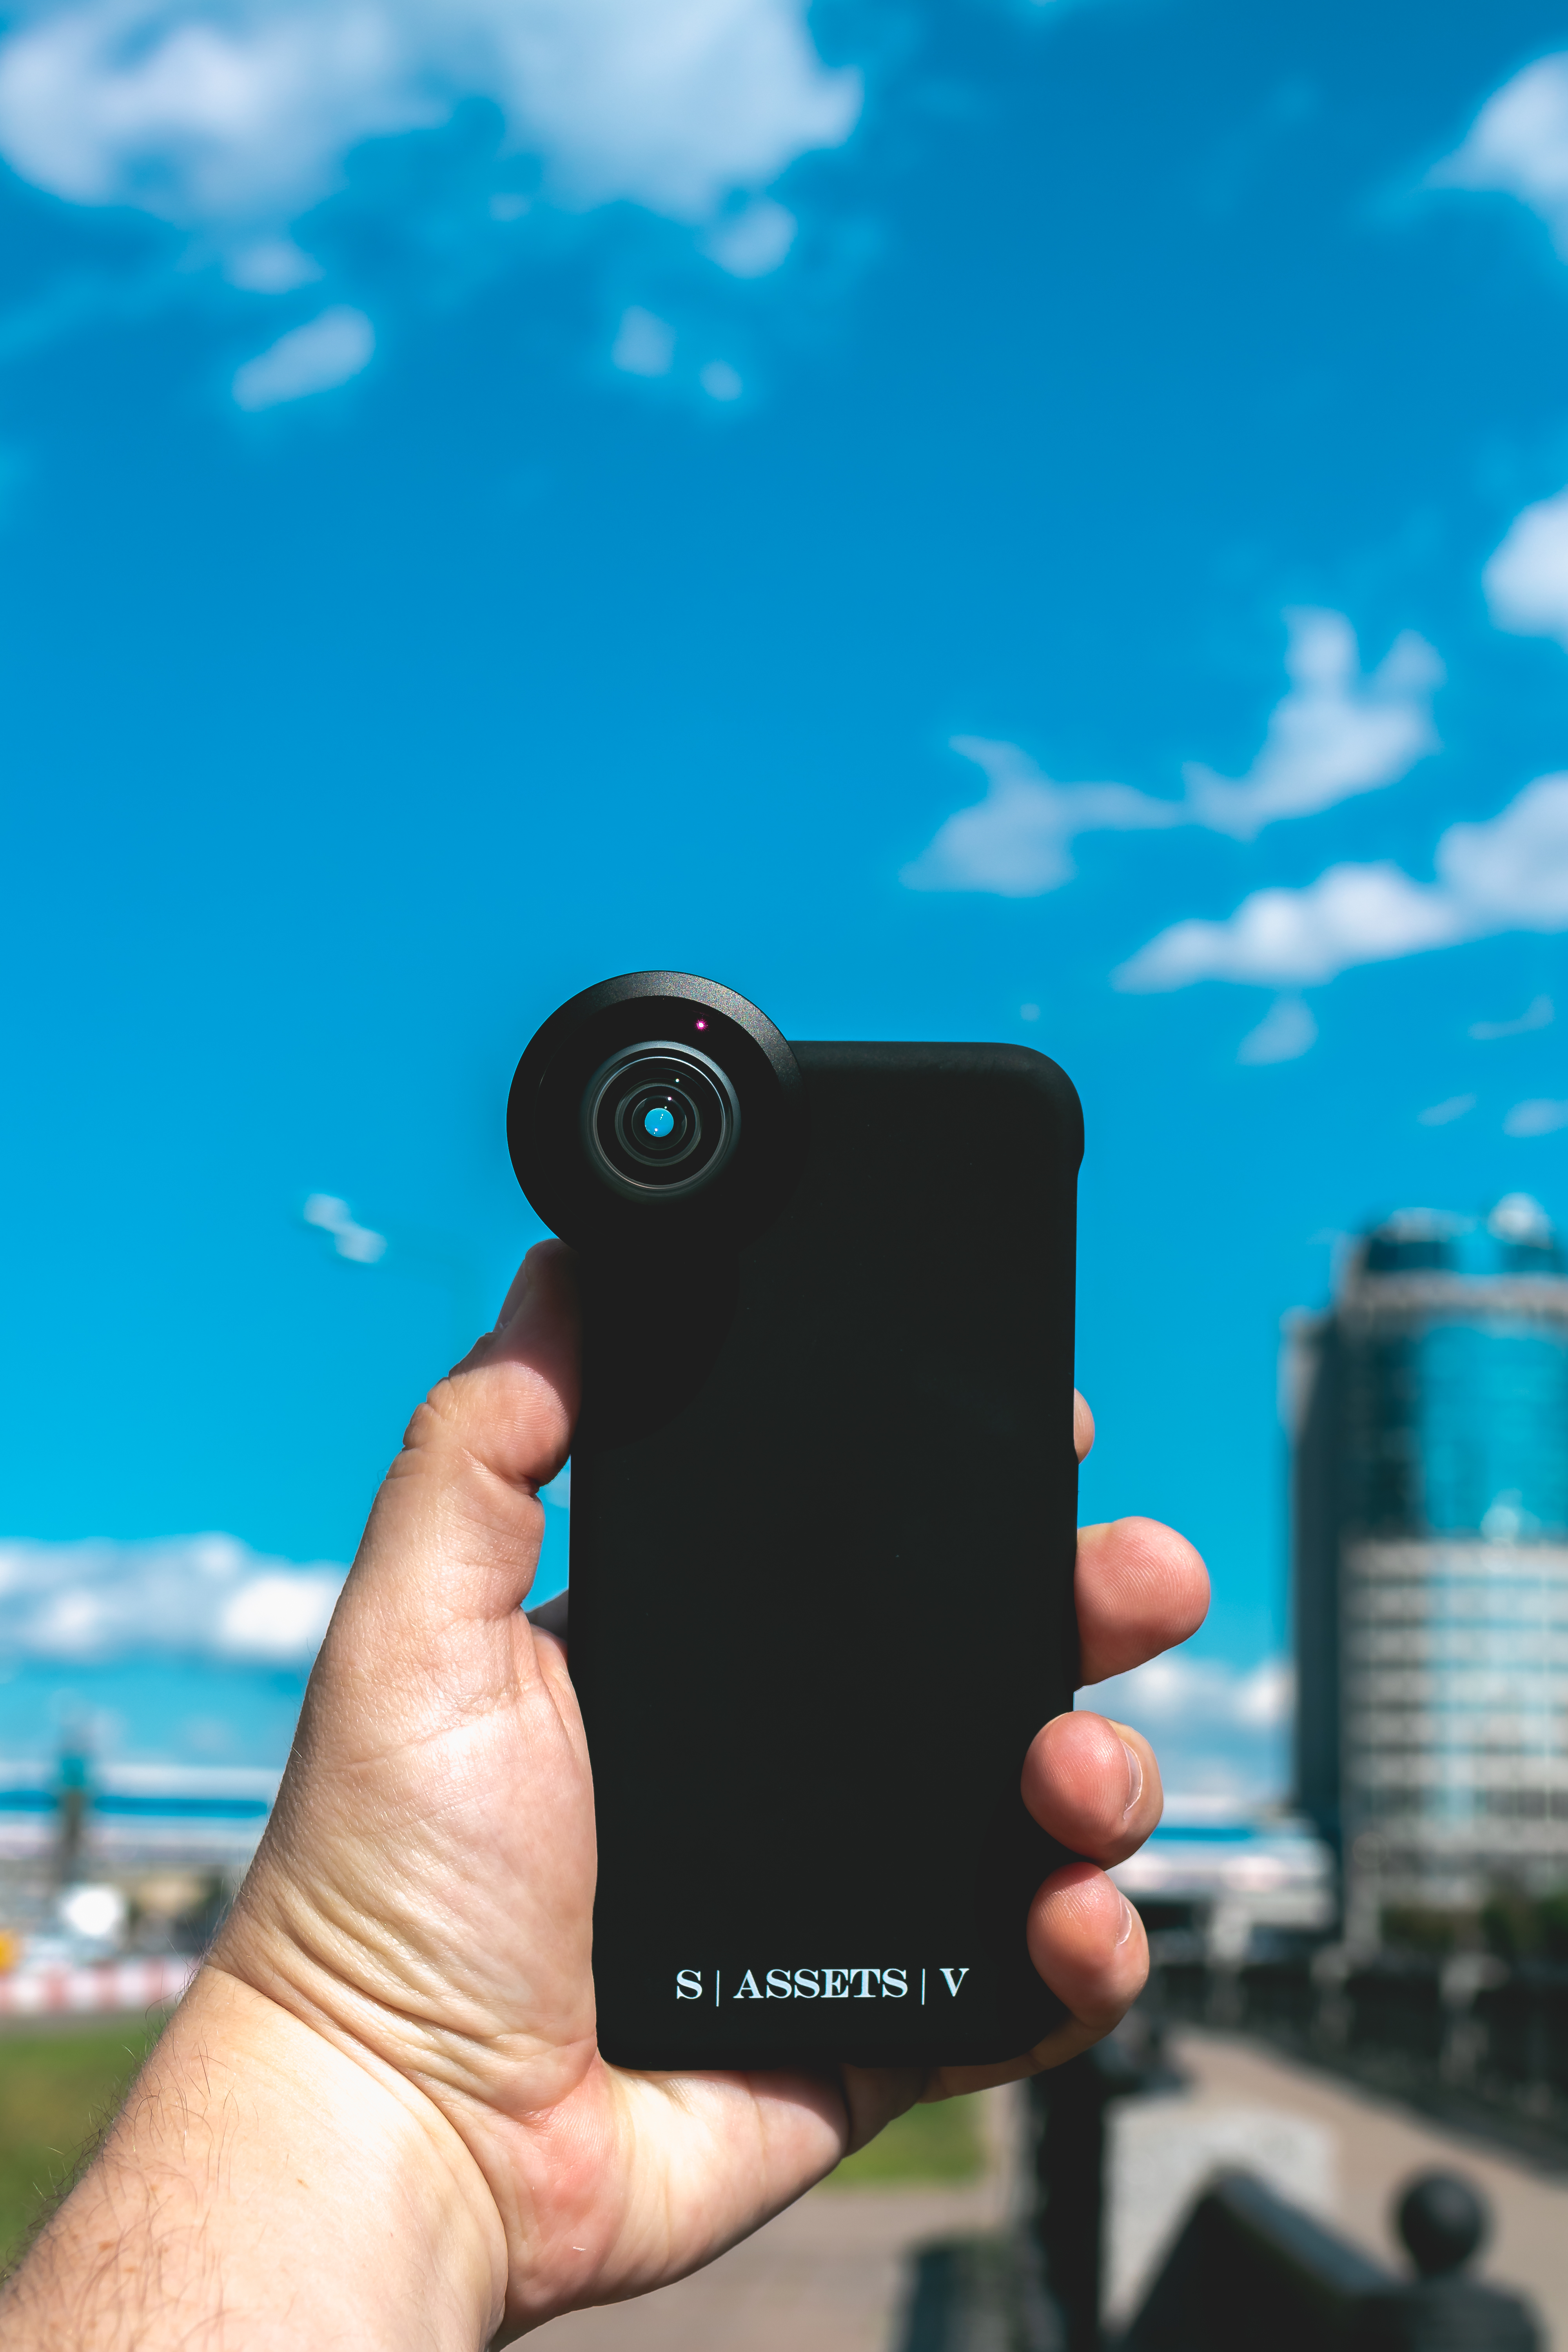
Phone Cameras
Like bridge and point-and-shoot cameras, phone cameras have the same general method of taking photos. However, in a phone, due to space constraints, everything is on a micro scale, from the lens to the zoom to the aperture to the sensor. For example, the iPhone 8 has a 1/3” sensor. There is a push toward high quality on a small scale since cameras are frequently a selling point on most phones, so phone camera sensors are typically quite good quality even though you may not want to print the photos bigger than a postcard or a typical A4 or similar size paper.